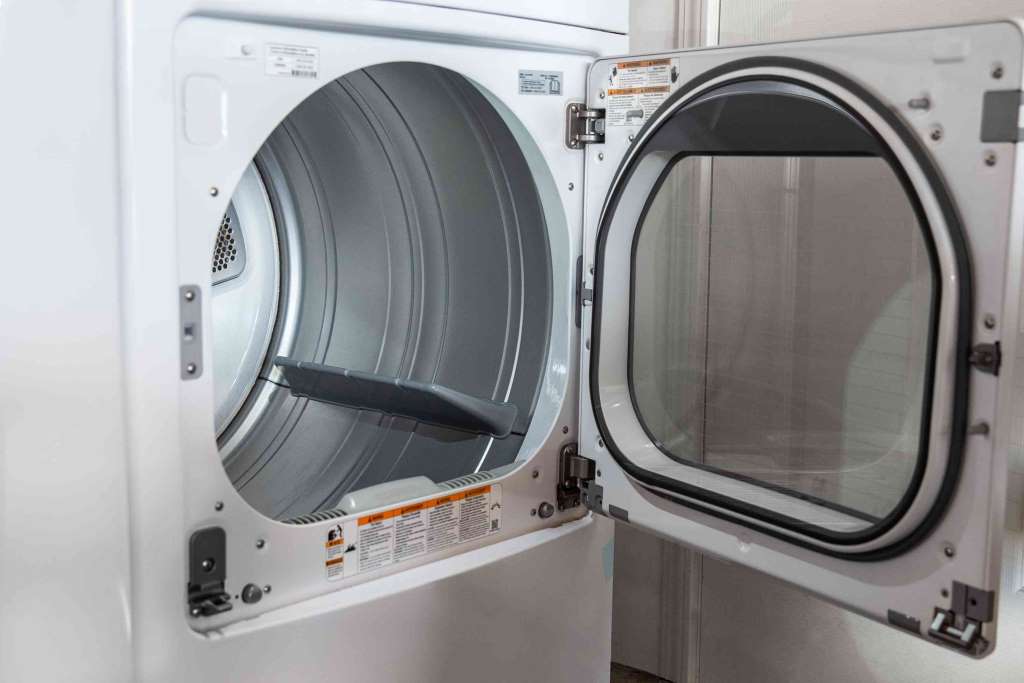
A dryer malfunctioning and refusing to start is one of the most frustrating appliance issues you can encounter. Not only does it cause inconvenience, but it can also raise concerns about escalating energy bills and potential repair costs. If your dryer stubbornly refuses to work when you push the start button, don’t despair. This article will help you troubleshoot the problem and offer practical solutions.
Before You Start
Always prioritize safety! Before you begin the troubleshooting steps below, please be sure to:
- Unplug the dryer: Disconnect the power cord from the electrical outlet.
- Consult your dryer’s manual: Refer to your specific model’s manual for any troubleshooting instructions it might contain.
Understanding the Problem: Narrowing Down the Cause
To effectively troubleshoot, it’s useful to identify patterns:
- Completely Dead: Does the dryer show no signs of life? No lights, no sounds. This indicates a likely power supply issue.
- Hums But Doesn’t Spin: A humming sound suggests the motor might be trying to start, but something is preventing the drum from turning.
Troubleshooting Steps
Let’s delve into a step-by-step process to pinpoint the problem and resolve the issue:
1. Power Supply Basics
- Check the Circuit Breaker: Make sure the circuit breaker that powers your dryer hasn’t tripped. If it has, reset the breaker.
- Inspect the Outlet: Test the outlet by plugging in a different appliance. A faulty outlet may need an electrician’s attention.
- Examine the Power Cord: Look for signs of damage, fraying, or loose connections on the dryer’s power cord. If damaged, replace it immediately.
2. The Door Switch: A Simple but Crucial Component
- Inspect the Lint Trap: A clogged lint trap can sometimes prevent the door switch from engaging. Ensure the lint trap is clean and properly inserted.
- Door Closure: Ensure that the door is closing firmly and latching securely. If the door doesn’t close fully, the door switch won’t signal the dryer to start.
- Test the Door Switch: You can use a multimeter to test the door switch for continuity. If the multimeter doesn’t indicate continuity, you’ll likely need to replace the switch.
3. The Start Switch: The Trigger
- Check the Start Switch: Press the start button several times, noting if it feels loose or stuck. A faulty start switch will prevent the signal to start from reaching the control board.
- Multimeter Test: Test the switch with a multimeter for continuity. Replace if it fails the continuity test.
4. The Thermal Fuse: Safety First
- Understanding its Function: The thermal fuse acts as a safety mechanism, cutting off power to the dryer if it overheats. Once a thermal fuse blows, it needs to be replaced.
- Location: You’ll typically find the thermal fuse on the exhaust duct or near the heating element at the back of the dryer. Look for a small, white cylindrical component with wires.
- Test with a Multimeter: Check for continuity using a multimeter. A lack of continuity indicates a blown fuse.
5. Deeper Components: Beyond the DIY Basics
- Drive Belt: If the dryer makes noise but the drum doesn’t rotate, a broken drive belt might be the culprit. Replacing this usually requires disassembling the dryer.
- Motor: A defective motor won’t start the dryer. Testing and replacing a motor often requires professional help.
- Electronic Control Board: This is the dryer’s “brain.” A faulty control board can cause various malfunctions, including a failure to start.
Additional Tips
- Overloading Warning: Avoid overloading your dryer as it can put a strain on the motor and other components.
- Proper Venting: Ensure your dryer vent is free of blockages or excessive lint buildup. Poor airflow can lead to overheating.
When to Call a Professional
If you’ve exhausted these troubleshooting steps and the problem persists, or if you feel uncomfortable working with your dryer’s internal components, enlist the help of a qualified appliance repair technician.
Let me know if you’d like more details on any of the steps or potential solutions.


